Ask the EXPERTS
Our experts answer an array of questions about every aspect of running a successful salon or spa business
Ask the Experts
What causes skin sensitivity and how can I treat those who suffer with it?
Nearly half of the global population describe their skin as sensitive, yet sensitive skin looks and feels different for everyone. Some people experience mild, occasional flare-ups, while others deal with constant redness and discomfort.
Clinically speaking, sensitive skin describes a predisposition you’re born with. Your protective barrier is less efficient at blocking irritants and, therefore, you may be prone to reactions and allergies. Sensitised skin is a term used to describe fluctuating sensitivity that can affect any skin type and is caused by internal and external factors.
Some of the most common triggers for sensitivity are lifestyle choices such as diet, alcohol and smoking. However, stress – both physical and emotional – can elevate specific hormones that cause inflammatory reactions too. Skin can become itchy and wound healing inhibited.
Many clients will be inadvertently sensitising their skin by using incorrect skincare products, over-processing their skin with acids or retinoids and using drying soaps, alcohols and other irritants such as perfume or drug and cosmetic colours.
Whatever the cause, sensitive skin symptoms typically manifest as redness – flushing, blotchiness and heat; a compromised barrier – itching, tingling or stinging; and dehydration – rough, tight and flaky.
When treating sensitive skin, less is more, so recommend clients use products that actively treat the symptoms, reducing inflammation, building the skin’s barrier and replacing lost moisture. Sulphatefree cleansing with a cooling gel or cream consistency will help minimise barrier stripping.
Include a barrier-building oil to restore lost lipids and protect from environmental aggressors, and ensure intense yet weightless hydration by using a moisturiser with hyaluronic acid to relieve dehydration. Make sure clients stock up on the right homecare too.

Sally Penford is director of education for The International Dermal Institute and professional skincare brand Dermalogica, which will be exhibiting at Professional Beauty on February 25–26.
Ask the Experts
How can I make my salon stand out as the go-to place for massage?
Massage is still the most popular service in many spas, and to deliver the very best treatment, you need to return to the basics, ensuring staff are trained in the right techniques.
Firstly, your treatment menu should be simple and clear and your consultation form for massage very specific, providing the right information for your therapist. For example, does it ask about the physical and emotional concerns of the client? Do your therapists use this information during the consultation? This is vital.
To be the go-to place you also need to ensure that the treatment room is comfortable for the therapist to give massages in. You should have an adjustable treatment bed and enough space for the therapist to move so they have access to the client without overstretching or bending their body unnecessarily.
Therapists should also be aware of the role they play and why they need to take good care of themselves. There should be full recognition of the risks involved, from physical injury and emotional burnout to even mental disillusion with the job. The techniques your therapists use must also be effective and safe for them, as this will increase staff retention and improve client satisfaction.
As an employer, you need to implement a supportive structure for your team, equipping them with the tools that allow them to work effectively to deliver the very best in massage while staying healthy.

Beata Aleksandrowicz is co-founder of the Pure Massage Spa Training Method. Check out her talk “Burnout and mental wellness: how anxiety and stress affects therapists” as part of the Nutrition and Wellness programme at PB London on February 25 (see page 103 for more details).
Matte lips are on trend. How can I perfect the look on clients?
Matte shades tend to be a little drier on lips than a gloss or satin finish, so prepping lips well beforehand will make for a long-lasting, smooth finish. Use a gentle exfoliator to remove any flakiness and enhance the circulation of your client’s lips, giving them a naturally plumped look.
Next, apply lip balm in a very thin layer. If you put on too much it will create a barrier, which means the lipstick won’t adhere well. Then, using a matte lipstick with a shaped wand, apply the product over your client’s lips, let it dry and then repeat. Layering like this will give lips a solid, opaque finish.
However, if your client has a non-matte lipstick they love, you can turn it into their go-to matte in two easy steps. Apply the lipstick and then hold a single layer of tissue over the lips, before applying a small amount of translucent powder.
The powder will seep through the tissue onto the lips to mattify without leaving an ashy residue – the perfect matte lip. Again, layering using this method is an effective way of creating longevity.

Anushka Patel is brand manager for mineral make-up brand Jane Iredale, which is distributed by the International Institute for Anti-Ageing (IIAA). You can talk to her on the IIAA stand at PB London on February 25–26.
Ask the Experts
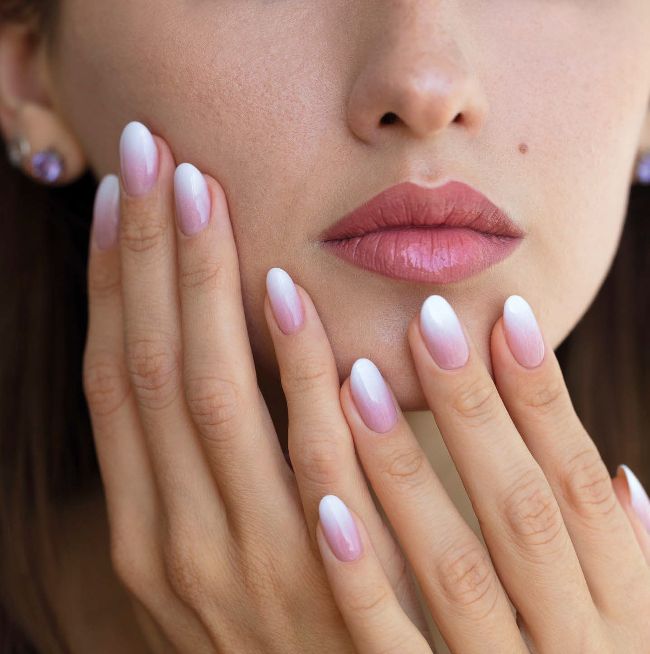
Which method is best for creating ombré nails?
There are many ways to create a vertical ombré effect on nails but I’m going to share my favourite.
Before starting the design, check you have the right tools. I recommend using a square flat brush, which can be synthetic, sable or a mix, as this will give the smoothest fade.
After prepping nails, apply foundation, cure and then dry brush. Next, choose two contrasting colours to create your ombré effect; for example, pastel pink and white.
Dip one corner of your brush into the softer colour (pink) and the other into the bolder colour (white). Remember, the bolder colour is the more dominant one and that means it can overtake the softer shade, so use less of it on your brush.
For a vertical blend, start brushing the nail from the cuticle to free edge. The first layer will be very thin, so don’t try to create the look in one go; it will take four to five layers to get the best effect. Cure, reload your brush and repeat.
Every time you add another layer, take your brush a little more into the pink side so that you get the correct amount of each colour. Keep repeating the steps until you have enough depth of colour and a smooth blend. Apply a top coat, cure and then cleanse.
You could even apply an optional layer of fine glitter as this helps disguise any colour that hasn’t blended as well.

Georgie Smedley is director of Nail Harmony UK, which distributes Gelish and manufacturers All That Jazz. She will be talking about the brand’s biggest recent product innovation, Polygel, as part of the How to… programme at PB London on February 25.
How do I stress to clients the dangers of at-home lash lift kits?
With so many at-home lash lift kits appearing on the market, it’s becoming more important than ever to explain to clients the potential hazards of carrying out the treatment themselves.
The possibility of a serious accident is extremely high, especially due to the treatment being performed around the delicate eye area. As a professional, trained lash artist, take it upon yourself to educate clients on not only the risks of these DIY kits, but on the benefits of getting their lash lift done by an expert.
Use the topic to highlight your services and emphasise the number of safety procedures that have been put into place by your training body. From the patch test kits and client records, to the carefully formulated treatment kits and aftercare advice – all of which will be covered by your insurance for extra peace of mind.
At Nouveau Lashes, we instruct all our technicians to perform patch tests at least 48 hours before any lash lift treatment and provide extensive training on all contraindications to avoid any risk of possible reactions.

Karen Betts is director and owner of Nouveau Lashes and High Definition Beauty, and founder of permanent make-up brand K.B Pro. She will be talking about “Permanent cosmetics: correction techniques” as part of the Aesthetic Treatments programme at PB London on February 25.
Ask the Experts
Where do I start if I want to create a signature anti-ageing facial?
If you’re passionate about skincare, it can be tempting to offer every facial trend available on your menu. However, the real challenge is stripping the treatment back so you can create a genuinely signature approach.
The best thing to do when creating a signature anti-ageing facial is play to your strengths. If you’re passionate about the benefits of massage, focus on that and then gradually build on it. I would also flag that you should treat each client as an individual – so find a way to have a protocol that you can tailor to different skin needs.
Start the process by knowing which products you want to use and then opt for brands that you’re passionate about, before applying a personal approach to the specific skin requirements of each client. You should also ask a few clients you know well to try your new treatment so they can offer genuine, honest feedback.
I suffered with adult acne and that’s driven my passion for developing results-driven skincare treatments. When I first trained as a facialist 20 years ago, I focused on massage, which is still an important part of my signature facial today, but as I’ve progressed, I’ve taken much more of an interest in innovation and technology.
Now, I offer a combined approach, including peels and laser treatments, as and when required. Once you’ve settled on a signature approach, don’t be afraid to tweak or adapt it over time. As therapists, we’re constantly learning and developing in the quest for skincare perfection and a good signature facial will adapt accordingly.

Teresa Tarmey is a celebrity facialist and owner of an eponymous clinic in London. She has more than 20 years’ skincare experience.
How should I decide on the best type of wax for each treatment?
Providing the best waxing service possible for clients simply comes down to choosing the most effective wax for the desired body part.
To wax delicate areas like the bikini area, underarms and face, I’d recommend a hot wax as it’s fantastic for removing strong, thick and coarse hair. Hot wax is designed to shrink-wrap around the hair follicle, removing it from the root without pulling at the skin. It’s best applied using the tip of a spatula in a medium and even consistency for clean removal. If applied too thinly it could cause the wax to become brittle, preventing a smooth finish.
The ideal wax for areas like the legs, back, chest and arms would be strip wax. It’s excellent for removing softer hairs and more cost-effective for larger areas. You should apply it like you’re buttering bread, holding the spatula at a right angle to get the best coverage.
However, for the best results in a back and chest wax, I’d recommend using a combination of strip and hot wax. Apply hot wax to the strong, tough-haired areas and use strip wax for the rest. PB

Jenny Hunter is a therapist at wax specialist salon NKD in Nottingham and brand ambassador for professional waxing brand Perron Rigot. See her talk on “How to carry out the perfect female intimate wax” as part of the How to… programme at PB London on February 25