TRAINING
Shaping up
Deputy editor and nail tech Kezia Parkins tries her hand at acrylic at Glitterbels HQ in Stoke-on-Trent
As a nail tech trained only in natural nails and gel, I’ve always been in awe of acrylic techs because the medium seemed far more difficult to use and techs expert in it look so skilled and deft of hand while working.
Acrylic has always been something I wanted to learn so when the Glitterbels team invited me to one of their training days, I knew it was time. I’d never been to the Glitterbels salon and training space before, but didn’t want to leave after spending the day. It was a pink paradise of gorgeous decor and sparkly products in bottles and jars.
In the training room, I was met by my friend, ADHD sister and Glitterbels trainer Dani Brindley. The training room was a stunning extension of the salon with custom-made Glitterbels desks and displays of the brand’s entire range.
Kitted out
I was amazed to receive my own pink kit complete with everything I need to create acrylic extensions, and now it was time for the training. The class was packed full of techs at varying stages and skill levels but it was immediately a friendly community environment. After some nail and acrylic education, Brindley demonstrated her perfect prep techniques before letting us loose on our own nails.
I was a bit gutted to have to trim down my natural nails, as I had got them long and strong, but it was needed to apply extensions with tips, which I’ve always avoided as I found them tricky to apply.
At a glance
- Beginner acrylic course with kit: £630
- Course is accredited by ABT Insurance and includes Marian Newman Online Nail Knowledge Diploma.
- Day two covers infills, removal, French and ombre.
I’ve always had trouble sticking the tip to the nail but Brindley explained that if the tip moves, even slightly, the bond will break and the tip will never adhere properly. The only way to rectify this is to remove the tip, file off or remove the excess glue on the nail and do it again. She taught us a great position to apply the tip to ensure accuracy and firmness so that the tip bonds like a charm.
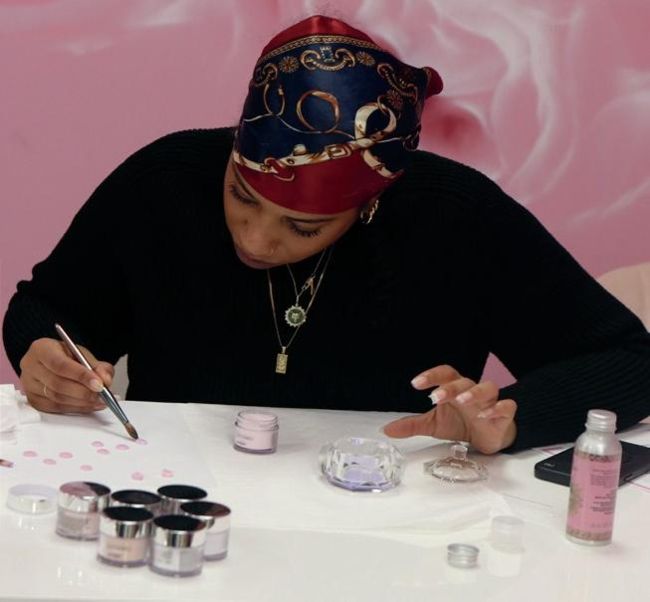
Next, it was time to learn to pick up acrylic beads, which is something I have been most excited to learn after watching hours of satisfying videos on Instagram that make it look easy. Brindley demonstrated meticulously picking up the bead with the perfect amount of monomer on the brush and placing it on a sheet of paper to form a levelled, round blob.
I was better at this than I thought I would be but my confidence soon dropped when applying the bead to my tipped nail. I’ve seen videos where techs cover and form a whole nail with a one-bead method. Brindley explained that while this looks great, using such a large bead could cause problems as the monomer and acrylic react with each other to bond and harden. She used three beads as she showed us the application, moulding to form a nail.

It’s going to take a lot of practice for me to be able to calmly apply the acrylic while remembering to dab off the excess quickly enough to get back to the nail and shape. Some of my nails inadvertently looked like the 3D sculptures I create for editorial shoots but I hoped all would come right in the filing, where I learned another golden nugget from Brindley – she showed us positions to hold the file for best pressure and accuracy. She also got us to colour in one of the nails with a Sharpie to show areas that had already been filed. What I learned about filing and sculpting have helped me become better with all mediums, not just acrylic.
Acrylic dos and don’ts
- Do use as many beads needed to create your nail
- Don’t skip the proper prep
- Do take the best care of your brushes
- Don’t forget to tap brush to remove excess monomer
- Do keep practising!