Take a look at the hottest nail trends spotted on the SS17 catwalks and translate them in salon using our simple step by steps
Trend inspiration:
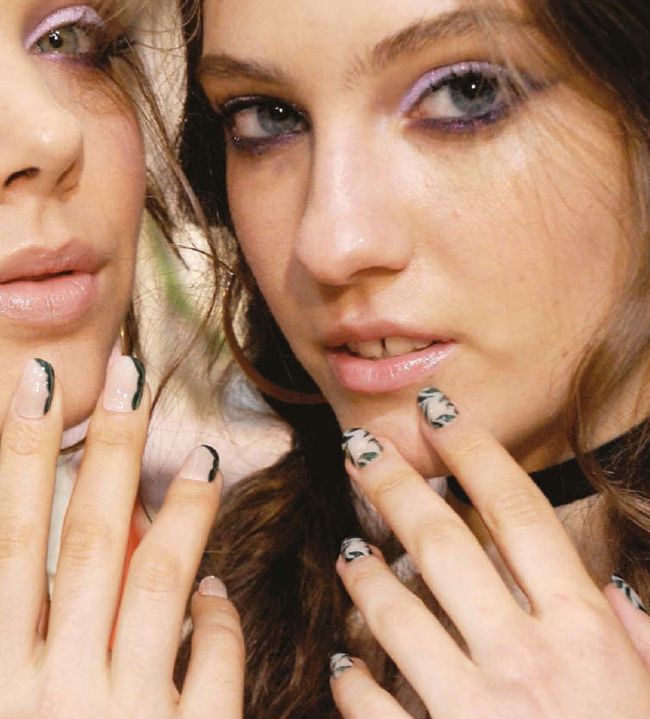
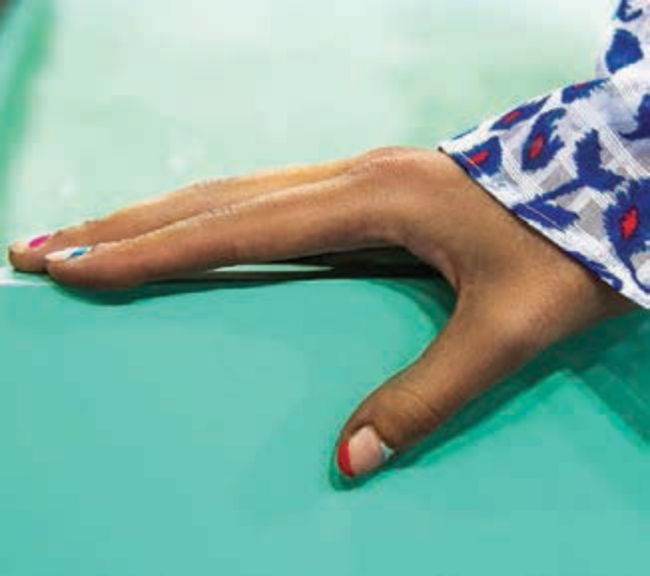
FINE LINES
Using a striper brush to create fine line detail is one of the most popular forms of nail art but this season we’ll see it given a new twist. Think pared-back styles with a super-fine edge using sharp parallel lines.
On the spring/summer 17 catwalk, this trend was given an extreme finish at Marta Jakubowski, where Veronica Butenko used a fine striper brush to paint Artistic Colour Revolution in black Swag or red Social Diva in long, thin lines, starting from the tip of the nail and continuing all the way down the middle of the finger.
Meanwhile, over at Markus Lupfer’s show, lead tech Ami Streets used Orly polish in white crème Overexposed and deep black The Blacklist to draw vertical lines that mirrored the straight cuts of clothes in the collection.
Get the look
We asked London-based tech Karen Louise to use Salon Services’ new Pro-Polish by Gellux collection to create a wearable fine-line look that salons could offer clients. “We saw a lot of graphic, sharp lines in both the make-up and nails on the spring/summer catwalks,” says Louise.
“If you’re doing this sort of look in the salon, make sure you go with two contrasting colours so the stripes really pop against the base colour.”
1. Clean, prep and file the nails to a short, squoval shape. Push back cuticles
2. The new Pro-Polish line doesn’t require a base coat but if you are using a system that does, then apply to all 10 nails
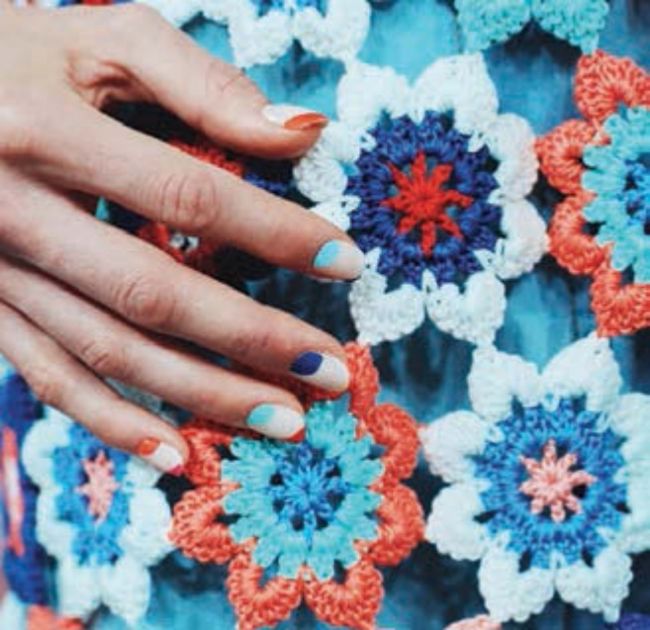
3. Apply two coats of a sky blue polish to all nails. Louise used Pro-Polish in Freeze Frame
4. Using a striper brush with a bright pink polish, such as Pro-Polish’s Camera Ready, draw a fine line in the centre of all nails except ring fingers. Start about a quarter of the way up the nail and continue the stripe to the free edge
5. Using the same polish and brush, apply a second, shorter line parallel to the first on each of the eight nails
6. Create a contrasting design on the ring fingers by starting your first line at the base of the nail and finishing three-quarters of the way up, then beginning your parallel line at the base, finishing halfway up the nail
7. Finish with a layer of high-shine top coat such as Pro-Polish Gloss Finish to seal the look.
CND for Alice + Olivia NYFW SS17
Morgan Taylor for Rodarte LFW SS17

Orly for Fyodor Golan LFW SS17
Trend inspiration:
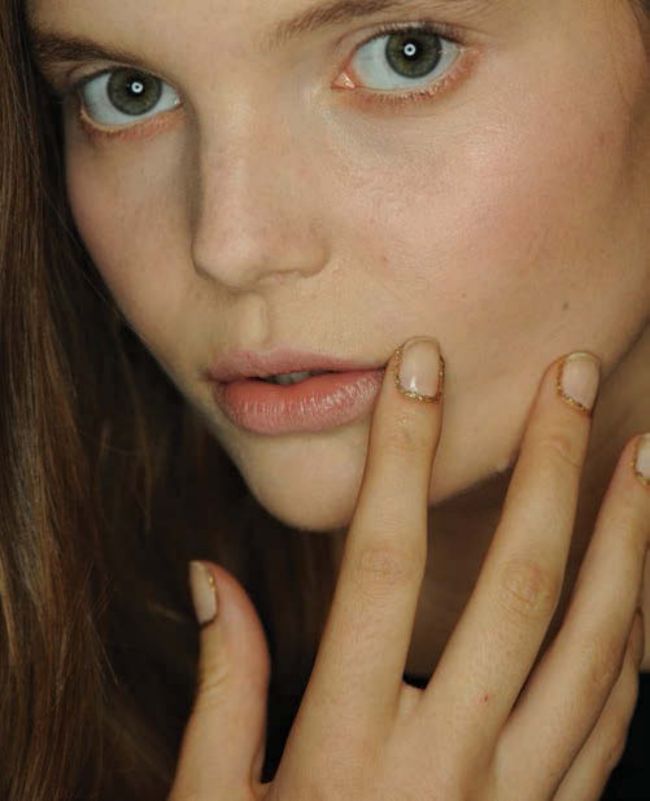
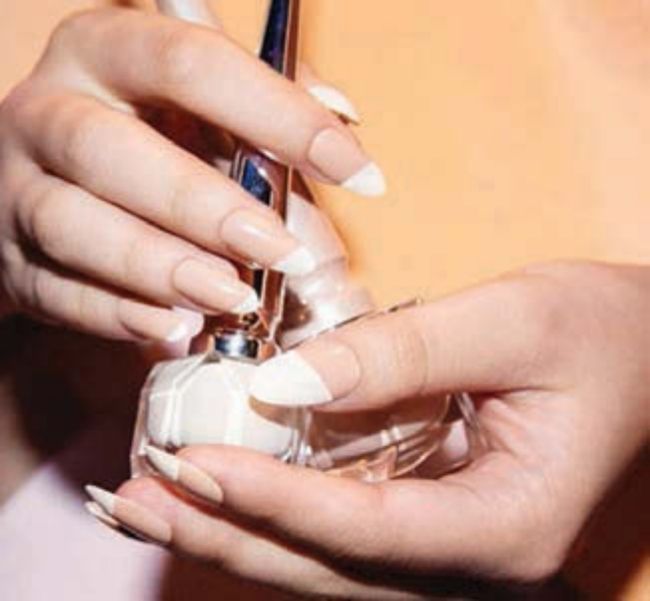
CUTICLE FRAMING
We’ve seen countless variations on the French manicure, from a focus on the half-moon, to glitter tips and contrasting matt and gloss effects, but the latest catwalk variation turned the trend on its head. By focusing on the base of the nail, but reversing the half moon curve into a crescent, session techs created a fresh take for the spring fashion shows.
At Faustine Steinmetz, the Jessica team painted a simple curve against a naked base, while the glitter frame created by Morgan Taylor for Rodarte took colour up the lengths of the sides for a pretty glitter frame. Orly’s look for Fyodor Golan also took colour up the sides of the nail but with a tapered edge for a smooth curve. Meanwhile, CND’s nails for the Alice + Olivia show took a different approach to framing, using intricate leaf designs to outline a soft pink nail.
Get the look
Daniella Cartwright, educator for Jessica distributor Gerrard International, used Jessica’s Sky High polish to create the cuticle framing look on a natural nail. “The cuticle frame trend was popular on the catwalks and is a really simple one for techs to copy,” says Cartwright.
1. Preparation, particularly of the cuticles, is key when doing cuticle framing, so start by filing nails into shape and pushing back the cuticles. You can also use cuticle nippers if necessary to tidy them
2. Apply a base coat to help protect natural nails. Cartwright used Jessica’s vitamin-rich Reward Base Coat for normal nails
3. To create the frame, use a flat brush and apply your chosen colour around the curve of the cuticle
4. Go over the design with a second coat of polish. If you’re keeping the base nude, a pale colour such as Jessica’s Sky High works well to create a subtle finish
5. You can then go back and tidy up any rough edges using a wooden orange stick, dipped lightly in nail polish remover
6. Apply a high-gloss top coat to complete the look. Cartwright used Jessica’s Brilliance Top Coat
7. Be sure to finish with a few drops of cuticle oil, such as Phenomen Oil, to keep the cuticles hydrated and ensure the look stays neat.
Orly for Emilio de la Morena LFW SS17
Trend inspiration:
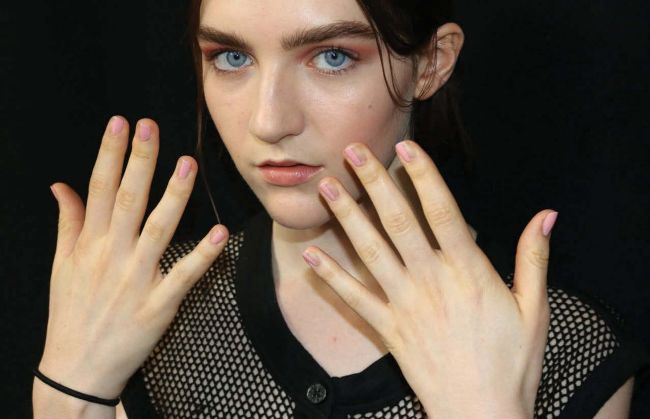
HALF AND HALF
One of the most striking but simple looks to recreate from the SS17 catwalks is the “half and half” trend, variations of which were seen on countless fashion week runways. The trend is in keeping with the simple, minimalist nail art vibe of the season, suggesting clients will be coveting decidedly low-key looks.
Emilio de la Morena, Tanya Taylor and Cushnie et Ochs all showed their interpretation of the look using complementary colours divided across nails by sharp lines for a clean, minimal effect. The halfway line can be painted horizontally, vertically or diagonally, and clients can choose their favourite contrasting colours to make the art their own.
©Instagram/@cushnieetochs NYFW SS17
©Instagram/@tanyataylor NYFW SS17
©Instagram/@cushnieetochs NYFW SS17
©Instagram/@tanyataylor NYFW SS17
Get the look
Bio Sculpture technician Haley Lomas used a deep sapphire blue from the 2014 Folk collection and a pinky nude to create a striking half-and-half look on nails exclusively for Professional Beauty. She shared her top tips for techs: “It’s really important to use an upper arch brush for the line,” says Lomas, “because if the line isn’t super straight and crisp the whole impact of the look is ruined.”
1. Clean, prep and file nails. Push back cuticles
2. Apply a strengthening and conditioning base coat such as Bio Sculpture’s Executive Base to help reduce damage to the natural nail during the removal process
3. Apply dot of nourishing vitamin treatment like Vitamin Dose to the centre of each nail to infuse
4. Apply Bio Sculpture Base then cure
5. Apply two coats of a nude polish, such as Classic Jacquard, curing between layers
6. Using an upper arch brush and French brush paint a diagonal line with a navy blue, such as Pursuit of Beauty, and fill in the space, then cure
7. Apply another coat of the nude gel-polish to the contrasting half to achieve true colour density, then cure. Apply top coat and cure again.
CND for Libertines NYFW SS17
Morgan Taylor for Clio Peppiatt LFW SS17
Trend inspiration:
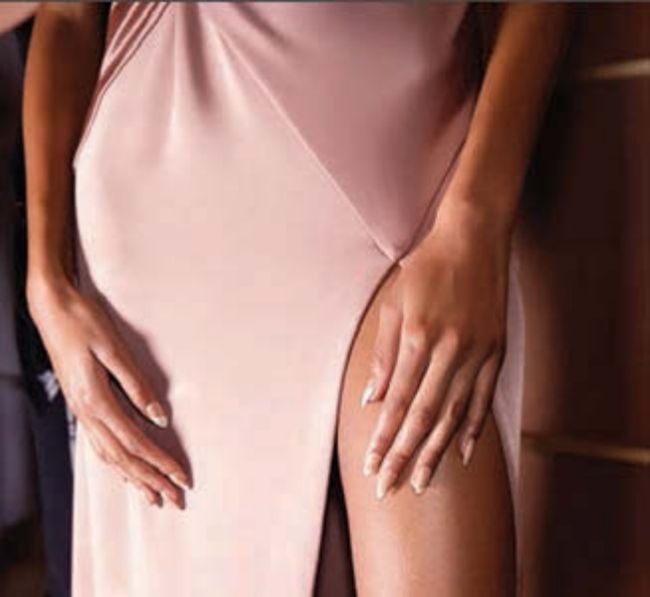
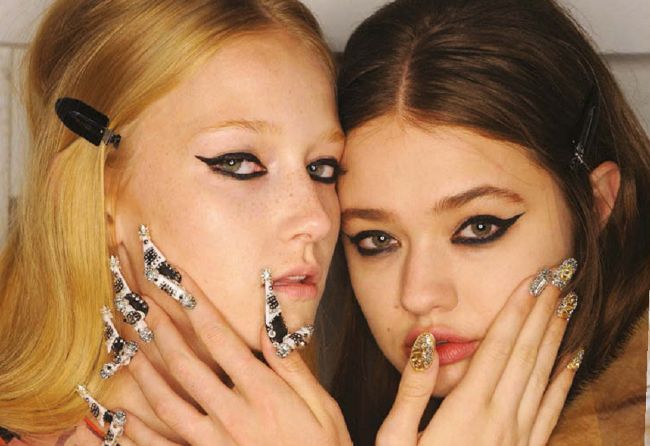
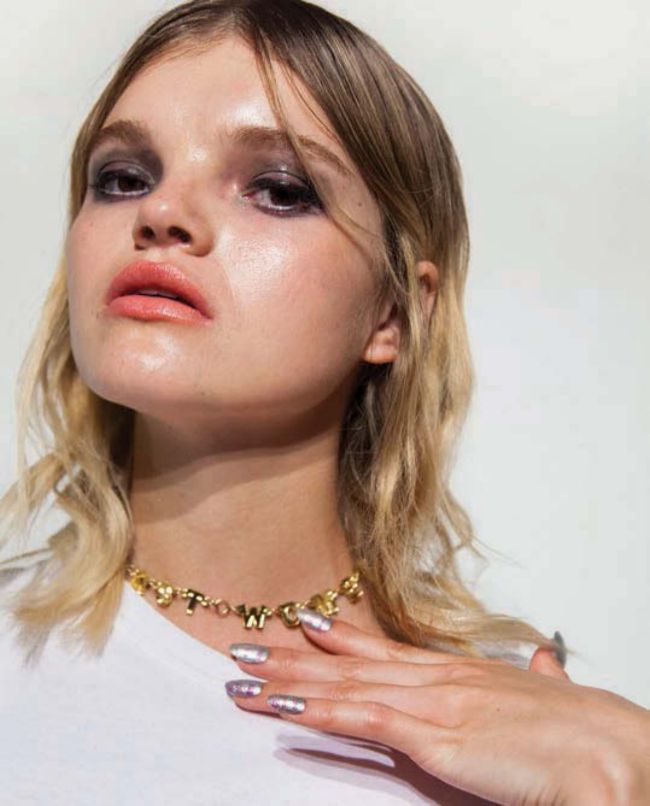
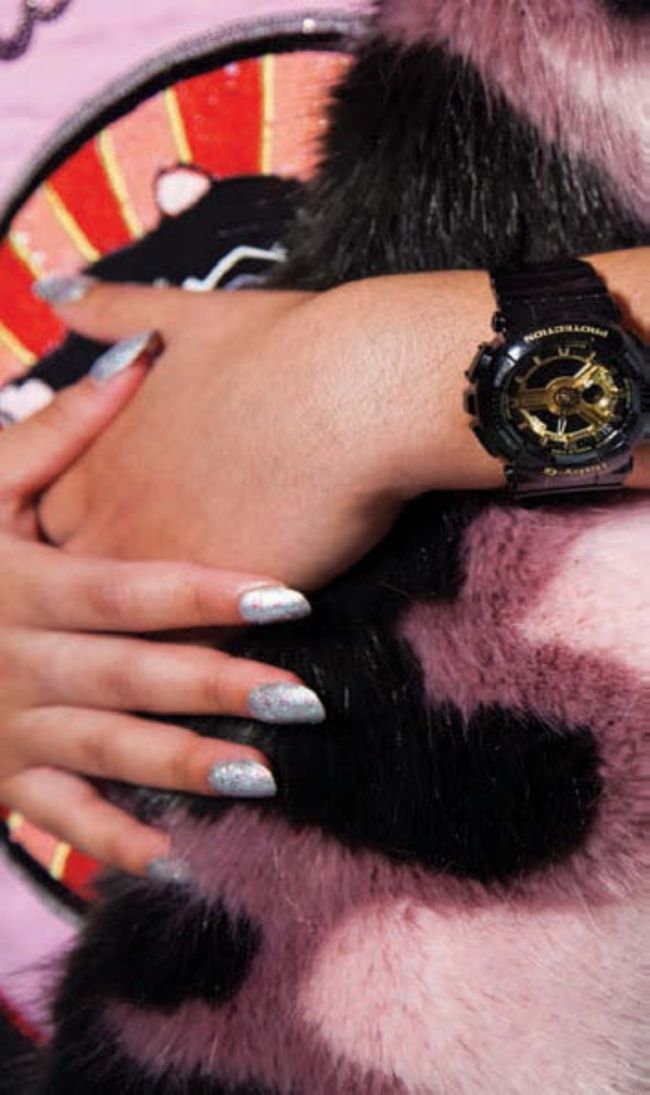
TEXTURED METALLICS
A show-stopping design on the Libertines and Clio Peppiatt SS17 runways, and at Fashion Scout’s House of MEA show, was textured metallics, with elements of punk rock vibes. From holographic cellophane and chrome pigments to beads, studs and golden chain embellishments, the brands really stepped up their texture game with models rocking the look in a variety of edgy ways.
At Clio Peppiatt, the Morgan Taylor team used a silver metallic polish with minimal chrome embellishment on short, squoval nails, while at Fashion Scout the Artistic techs kept it minimal with two coats of a burnished bronze for a classic take on the trend.
However, at Libertines the idea was the bigger the better with CND’s Design Lab Team creating long, pointed and round extensions in traditional blacks and golds, with embellishments adorned from cuticles to tips. This trend can add some major glam points to clients’ everyday style and is easier to recreate in salon than you think.

Artistic for Fashion Scout House of MEA SS17
Morgan Taylor for Clio Peppiatt LFW SS17
Get the look
Nataliya Al-ta’ai, education ambassador for Global Team CND, used CND’s spring and summer collections – New Wave and Rhythm & Heat – to create a fun, wearable take on this season’s textured metallics look.
“You can use any colour for this look and the metallic element only takes two minutes to do,” explains Ta’ai. Her top advice for techs: “When applying foil to nails, use tweezers to avoid picking up big chunks. Smaller pieces are better.”
1. After nail prep, apply Shellac Base Coat and cure for 10 seconds
2. Apply one coat of a bright yellow polish such as Shellac Banana Clips to ring and middle fingers and a mint green such as Sugar Cane to the rest. Cure the whole hand then repeat the process for the second coat
3. Scrunch up Lecenté Gold Foil and, using tweezers, dab it on the ring and middle fingers to create the metallic effect. Repeat the process using Lecenté Silver Foil
4. Using a cosmetic sponge, lightly burnish Lecenté Rainbow Chrome Powder onto these two nails
5. Dip a dry gel brush into a blue glitter such as Lecenté’s Glimenté Orcale and apply on the other three fingers at the cuticle area, lightly burnishing up towards the extension edge
6. Repeat step five with a gold glitter such as Lecenté’s Quest but starting at the middle of the nails, working towards the edge. Dust nails with fan brush to remove excess
7. Apply Shellac Clearly Pink to nails to seal and cure for one minute. Apply Shellac Express 5 Top Coat and remove top film with D Sperse. Finish with oil application.